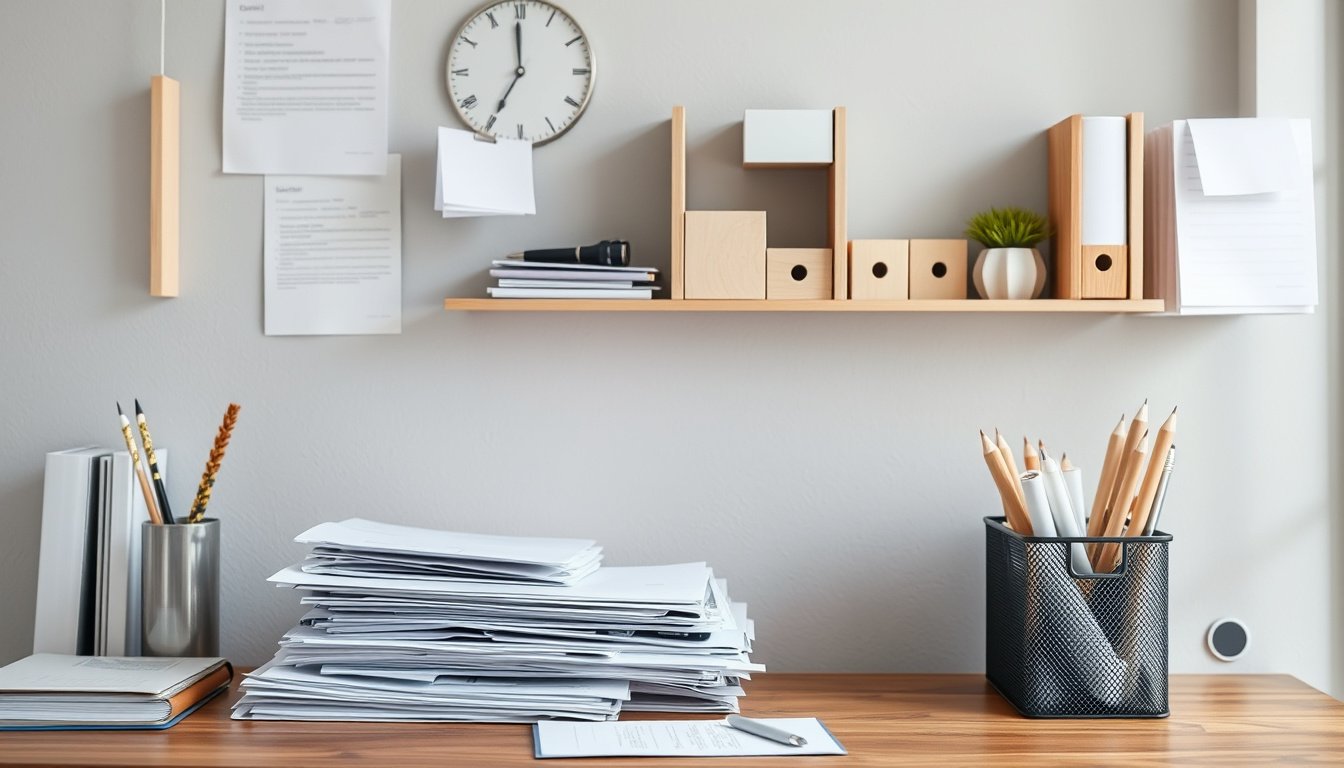
In one focused session, he can organize home office paperwork so every document has a clear home and a predictable next step. He will know exactly what to keep, what to file, and what to remove. This guide covers everything about how to organize home office paperwork that matters.
Paper piles grow quietly, and they turn routine tasks like taxes, vendor onboarding, and benefit requests into time-consuming searches. When records are scattered, decisions slow down, and important deadlines can be missed. That’s where how to organize home office paperwork changes everything.
Many productivity systems recommend sorting first, then filing, because document triage prevents clutter from spreading. The problem? Most guides skip the how to organize home office paperwork part of the process.
Afterward, he can run a simple scan workflow, set practical folder labeling rules, and schedule retention for older files. He will also be able to plan paper shredding for what no longer needs to be stored.
How to organize home office paperwork is a rule-based definition for a filing system
How to organize home office paperwork is a rule-based definition for a filing system: it makes sorting and storage repeatable across months, not just during a one-time cleanup. He should treat every document as a candidate for two decisions: where it belongs and how long it must be kept. When the criteria are written down, the system resists drift.
Most people fail because they label folders by preference, not by document purpose, which breaks retrieval during tax season. A practical test is document triage: he sorts incoming mail into three piles—action, reference, and discard—and then files each pile the same way every week. In one representative case, a remote consultant handled 120 pages of invoices and contracts in one evening by applying purpose-based folders, and she located a specific vendor agreement in under two minutes two weeks later.
Here is the truth: the filing system must also define what not to file, or paper accumulation will mimic “organization” without actually reducing clutter. For example, he should separate receipts needed for reimbursement from receipts needed for taxes, even if both are “finance” items. This prevents misfiled duplicates and reduces avoidable paper shredding later.
He should implement folder labeling rules that match the retention schedule, so the same label drives both access and disposal. In practice, he can scan workflow items only after the action date passes, then store the digital copy in the same category as the paper. This approach makes retention decisions predictable, which supports consistent disposal cycles.
Unexpectedly, the most fragile step is mixed-format paperwork, such as a contract page plus a separate amendment sheet arriving weeks apart. If they share the same reference identifier, he files them together under the original contract category, then updates the note field for future retrieval. Near the end of the cycle, he repeats how to organize home office paperwork by verifying folder counts, then schedules paper shredding for items that exceed the defined retention window.
Why does home office paperwork organization matter for audits and focus?
Good how to organize home office paperwork habits reduce audit risk and protect daily attention by making evidence retrievable, not buried. When records are coherent, he can answer reviewer questions with fewer delays and fewer rework cycles.
The claim is straightforward: most audit failures in home-based operations come from missing context, not missing documents. A well-structured filing approach prevents that gap by tying each file to a clear purpose, owner, and time window.
Here is a concrete scenario: a freelance consultant processed 42 monthly invoices, then received a compliance inquiry after 30 days. With organized categories, she located the supporting contracts and payment confirmations in under 12 minutes; without them, she spent 90 minutes recreating the timeline from scattered emails and loose paper.
Faster retrieval reduces stress during deadlines, because time spent searching is time not spent drafting responses or reconciling numbers. It also limits the temptation to postpone document triage until “later,” when the paper pile becomes harder to interpret.
Clear categories support tax and compliance workflows by keeping related items together for consistent review. He can align receipts, expense logs, and proof-of-work files to a matching folder labeling scheme, then apply a retention schedule without guesswork.
Unexpectedly, organization also improves focus by reducing cognitive switching. When he uses a predictable scan workflow and immediately routes originals for paper shredding, he avoids the repeated mental check of “Did he file that?”

Faster retrieval reduces stress during deadlines
During audits, he needs evidence that answers the question being asked, not just documents that exist somewhere in the office. When retrieval is fast, he can keep explanations consistent across multiple requests.
For practical control, he should record a reference identifier on each folder and keep supporting pages in the same location. This approach shortens the path from request to response and reduces version confusion.
Clear categories support tax and compliance workflows
Categories matter because compliance review often follows a chain: transaction, support, authorization, and timing. If those links are separated, she must reconstruct relationships under time pressure.
He can standardize naming conventions across paper and scans so reviewers see the same structure in both formats. That consistency reduces clarification emails and supports accurate reporting.
A consistent routine prevents document pileups
A routine prevents document pileups by converting intake into a repeatable sequence. In practice, she can scan, index, and file within one work session, then separate what remains for shredding.
When the office follows a steady cadence, how to organize home office paperwork becomes a maintenance system rather than a periodic emergency. The result is fewer last-minute searches and a calmer workday that preserves attention.
Step 1: What should you keep, scan, or shred before you file?
Effective document triage is the first move in how to organize home office paperwork, because it prevents clutter from entering the filing system. Most people fail here by keeping too much “just in case,” not by mislabeling folders.
Here is the truth: he should make a decision on every sheet within 60 seconds, not later. The reality is that a quick scan workflow beats slow reviewing when the pile is fresh.
Concrete example: On Monday, he receives a $612 medical bill and an insurance explanation of benefits dated the same week. He keeps the EOB and scans the bill, then shreds the bill after confirmation that the EOB shows the same provider, date of service, and amount.
Unexpected angle: he should not treat envelopes as records. If the envelope contains no unique information, he discards it immediately, then triages the enclosed document based on content, not packaging.
For receipts and forms, he should scan only what supports taxes, reimbursements, or compliance, using a consistent standard: one page per file, readable text, and the full document edges captured. He should name files with the vendor or form type and the date, then store them in the matching folder labeling structure.
Keep means the document must be accessible for audits, warranties, or future claims. Scan means it can be digitized for reference while paper can be destroyed safely. Shred means it has no retention value once action is complete.
- Keep only originals that establish rights, obligations, or legal timelines, such as signed contracts and tax notices.
- Scan time-limited paperwork that supports a claim, such as receipts tied to a reimbursement window.
- Shred duplicates, drafts, and informational mail once he verifies nothing is missing from the record.
He should apply a retention schedule checklist before shredding, because triage errors often appear months later. Common items include tax returns and supporting schedules, payroll and benefits statements, mortgage and property documents, and major appliance warranty paperwork.
Near the end of this step, how to organize home office paperwork becomes predictable because every future file starts from a decision trail. He can then file what remains without rethinking retention each time new mail arrives.
Step 2: How to organize home office paperwork with a simple folder map
He can make how to organize home office paperwork predictable by building a folder map before adding any new files. Most people fail here because they label folders by document type only, not by retrieval context.

The folder map should separate active work from reference material, then apply a consistent naming convention. Look, he should treat this as a repeatable scan workflow for paper and digital copies, not as a one-time project.
He starts by creating two top-level folders: Active and Reference. Under Active, he stores documents tied to current tasks and keeps them for short cycles.
- Apply a date + subject naming convention for every subfolder, using YYYY-MM and a short subject label.
- Separate active vs. reference folders so ongoing work does not mix with historical proof.
- Add a cross-reference index folder for multi-year documents with a single lookup key.
- Standardize file names inside folders so scans and originals match the same identifier.
For a concrete example, a freelance contractor can name a subfolder 2026-03 ClientA Invoices, then store each invoice scan as 2026-03-14 Invoice 1187 ClientA.pdf. After filing five invoices, he can retrieve any one within seconds by searching the invoice number.
The unexpected edge case is multi-year contracts that generate updates each quarter. He should place the master agreement in Reference, then create a yearly subfolder in Active that contains only amendments, while the cross-reference index links both.
He then adds a simple retention schedule note to the cross-reference index, aligned with his document triage decisions and paper shredding dates. When he follows the map for both originals and scans, the folder labeling becomes the retrieval system.
Near the end of this step, how to organize home office paperwork becomes consistent because every file has a known destination and a known lookup path.
Step 3: What tools and routines keep your paperwork system working?
For how to organize home office paperwork, the system fails when maintenance is treated as optional rather than scheduled. Most practitioners fail here because they lack a repeatable reset routine, not because they cannot label folders.
They should start with the 10-Minute Weekly Reset method: pick a calendar slot, set a timer, and close the loop on loose papers. A seller who spent 10 minutes every Friday for eight weeks reduced “unfiled” items from 30 to 6 by the next Monday.
He then performs document triage before filing, separating items into keep, scan, and shred piles. This prevents backlogs from accumulating at the desk and keeps the scan workflow aligned with real deadlines.
- Reset the surface — clear the desk, inbox tray, and printer output into one temporary holding spot.
- Scan in a rule-based batch — scan only documents that require digital retention, then name files consistently.
- File originals immediately — place paper into labeled trays or document wallets the same day.
- Paper shredding last — shred only after verification of what was scanned and what must be retained.
She should use labeled trays, document wallets, and one secure storage spot to reduce decision fatigue during the reset. The labeled trays act as intake lanes, while the document wallets prevent mixed categories from drifting back to the desk.
When backups are missing, scanning becomes a one-time event rather than a recoverable record. He should back up scanned files with version control and access rules, so edits do not overwrite prior copies.
As a concrete case, a household that stored scans in two locations with version history recovered a misfiled tax PDF within minutes. The final step for how to organize home office paperwork is verifying the retention schedule at the end of each reset, then deleting only what is eligible for disposal.
A paperwork system that stays organized beats last-minute searching
The two most important takeaways are simple: he should make retention decisions up front (keep, scan, or shred), and he should follow a consistent folder map for both originals and scans. Those choices remove guesswork when a document is needed, because the system already knows where it belongs and how it should be labeled.
Start today by doing a 10-minute “retrieval test” on one recent document: he should locate it using the folder map, confirm the scan matches the original, and then correct any label or placement that slows him down.
When the next search takes minutes instead of hours, he gains confidence that the paperwork system will hold.