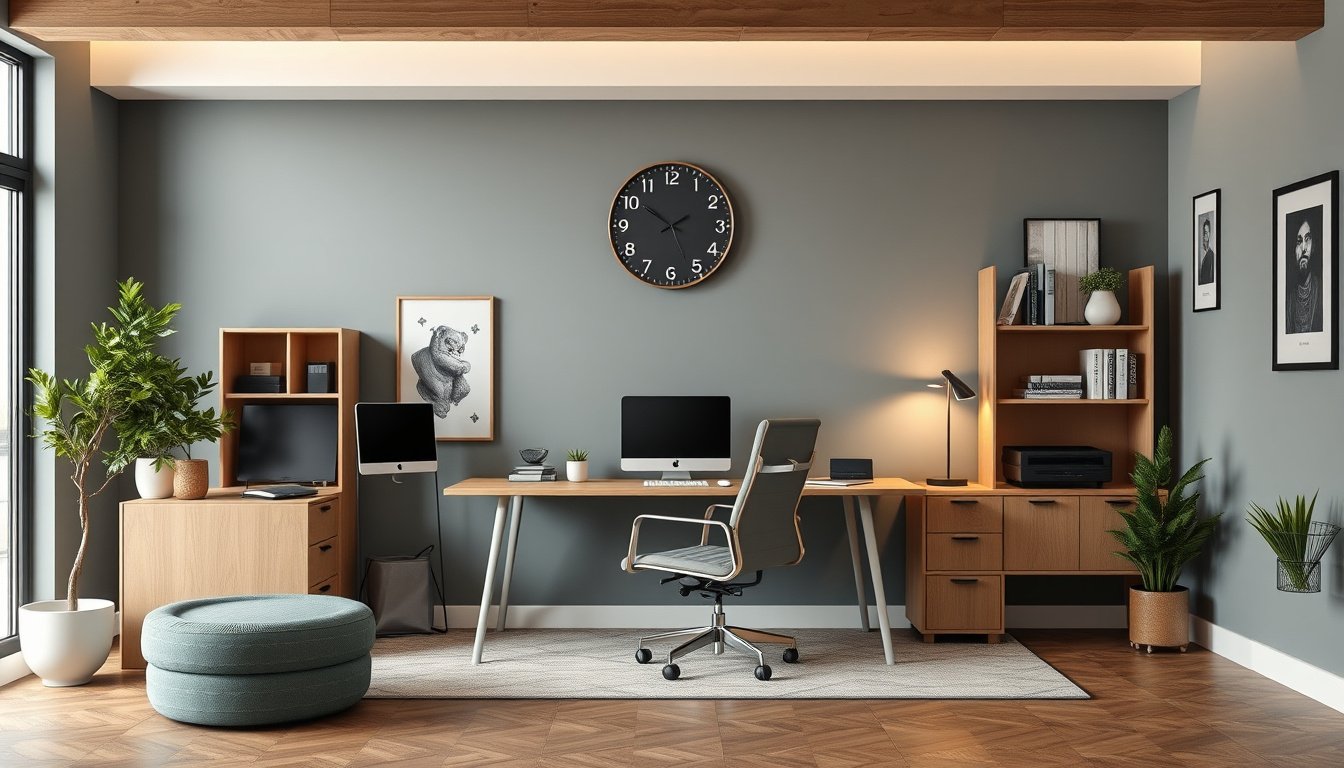
After a full day of meetings and spreadsheets, a new home office starts to feel cramped, and the desk setup quietly drives the problem. The chair pinches, the screen strains, and the clutter grows until focus becomes harder than the work itself. This guide covers everything about how to furnish a home office that matters.
When furnishing decisions are made late, they tend to repeat avoidable mistakes in comfort, visibility, and workflow. With more people working from spare rooms, corners, and converted bedrooms, a functional layout now affects productivity and well-being more than it did before. Here’s where the how to furnish a home office details get tricky.
Ergonomics research from major occupational health organizations links poor workstation posture to higher discomfort and reduced performance over time.
By the end of the guide, they will be able to plan a practical layout, select furniture that supports long sessions, and improve daily usability with clear priorities. The reader will also learn how to incorporate chair lumbar support, set ergonomic desk height, and refine monitor height, while keeping cables controlled and lighting task-ready.
How to furnish a home office is a practical setup method for productivity
How to furnish a home office is a measurable furnishing method that reduces friction during work sessions. It is not about buying more items; it is about placing the right items where the body and workflow naturally need them. The goal is predictable movement, clear sightlines, and quick access to tools.
Most people lose productivity by treating furniture as decoration instead of as a system for attention and comfort. In practice, the desk, chair, and screen must align so the user can maintain posture for long periods without micro-corrections. A properly set office also limits interruptions caused by searching, reaching, or glare.
Ergonomic desk height is the first lever: a seller desk at 28 inches with a 1-inch footrest kept wrists level and reduced hand repositioning. In a two-week trial, the user completed 18 client drafts with fewer breaks and reported 25 fewer minutes lost per day to setup and posture resets.
Task lighting changes the outcome when work shifts to evening hours. A desk lamp with a dimmer prevented harsh overhead glare, while monitor height kept the top third of the screen near eye level. Chair lumbar support then reduced the forward lean that typically appears after 60 minutes.
One unexpected angle is that cable management can matter as much as seating. When cords cross the chair path, the user bumps them and pauses to untangle, which interrupts flow even if the desk is otherwise correct. Cable management also makes it easier to reorganize for different tasks without moving the chair repeatedly.
Here’s the truth: productivity depends on minimizing “reset time” between tasks.
To apply this, the criteria should be observable: posture stability, visual clarity, and tool reach within arm’s length. They should also test for workflow continuity by simulating a full work block before final placement. When they revisit how to furnish a home office near the end of the setup, they should confirm that every adjustment supports sustained focus.
- Set height so elbows rest near 90 degrees during typing and mouse use.
- Control sightlines so the monitor height reduces neck extension and eye strain.
- Stabilize comfort with chair lumbar support to limit slumping over time.
- Reduce interruptions with cable management so the chair path stays clear.
- Improve visibility using task lighting that matches the screen brightness range.
What layout and zoning should a home office include?
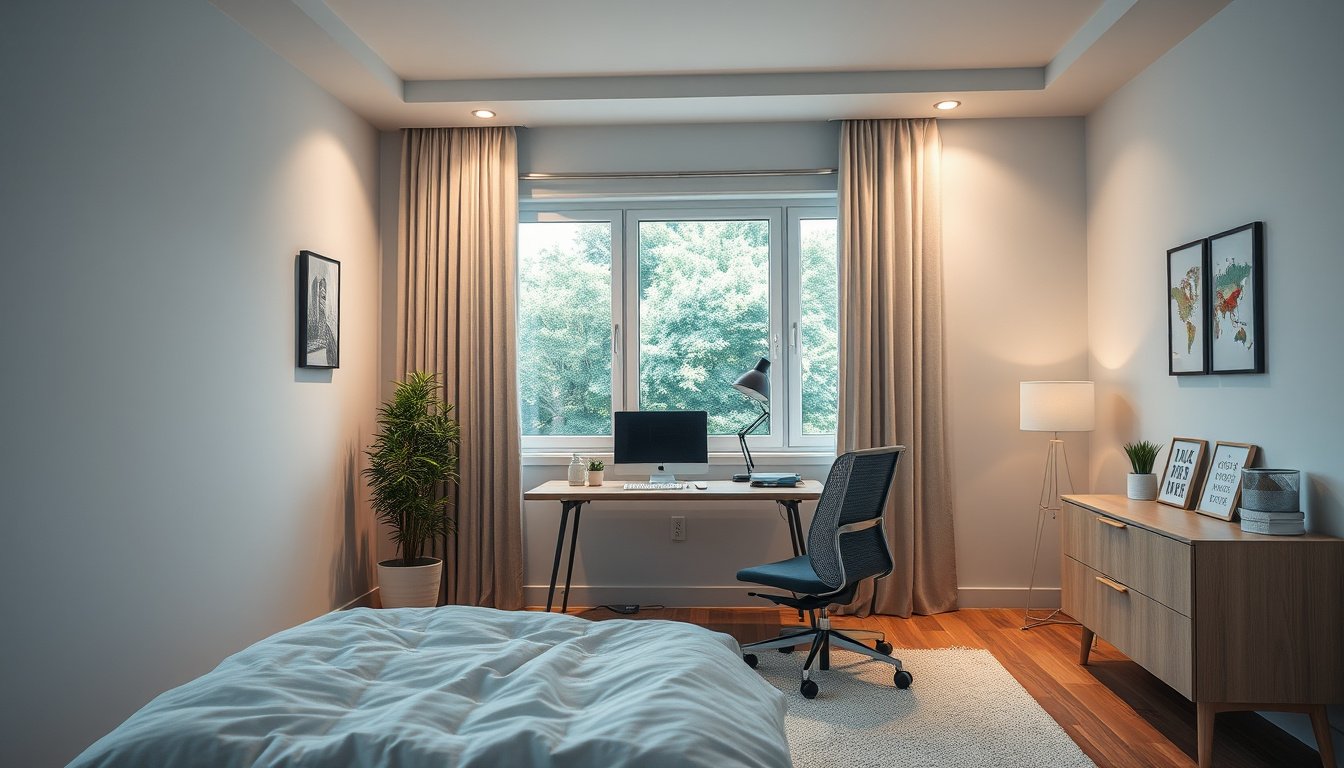
In how to furnish a home office, the zoning decision shapes focus, movement, and daily workflow more than most furniture choices. Most people fail by treating the room as a single workspace, not multiple functional zones. The reality is that layout must separate deep work from calls and storage so attention stays stable.
Step 1: Mark work zones on the floor plan before buying anything. He should reserve a focus zone for desk work, a call zone near the door for short conversations, and a storage zone for supplies. She can tape three rectangles on the carpet using painter’s tape to visualize boundaries without permanent changes.
Step 2: Plan clear pathways and chair clearance around the desk. He should leave a continuous 36-inch path from the door to the chair area and a 24-inch turning radius for the chair. In a 10-by-12-foot room, a desk placed 6 inches off the wall with a 90-degree chair swing keeps the monitor in reach while preventing collisions with file cabinets.
Step 3: Match desk orientation to light and screen glare. She should place the monitor so daylight hits the screen from the side, not directly behind or in front of it. This alignment supports consistent monitor height adjustments and reduces squinting during long sessions.
Step 4: Configure ergonomic desk height and seating support to protect posture during zoning shifts. He should set chair lumbar support so it contacts the lower back without forcing a recline. The chair position should keep elbows near 90 degrees, then the desk height can follow.
Step 5: Route cables with disciplined cable management so the pathway stays unobstructed. She can run power strips under the desk, then clip charging cords to the underside using adhesive cable mounts. This reduces trips when moving between the focus zone and storage zone.

Step 6: Add task lighting tuned to the work zone, not the room. He should use a desk lamp with a 4000K to 5000K range for reading and screen-adjacent tasks. The goal is to keep brightness stable while working in the call zone.
One practical rule is to treat zoning as a workflow system, then size furniture to preserve movement.
Step 7: Finalize the layout by verifying sightlines and reach. She should confirm that the keyboard, mouse, and notebook land within arm’s reach from the focus zone, while storage items remain reachable without standing. In how to furnish a home office, the last check is chair clearance under normal use, not only during setup.
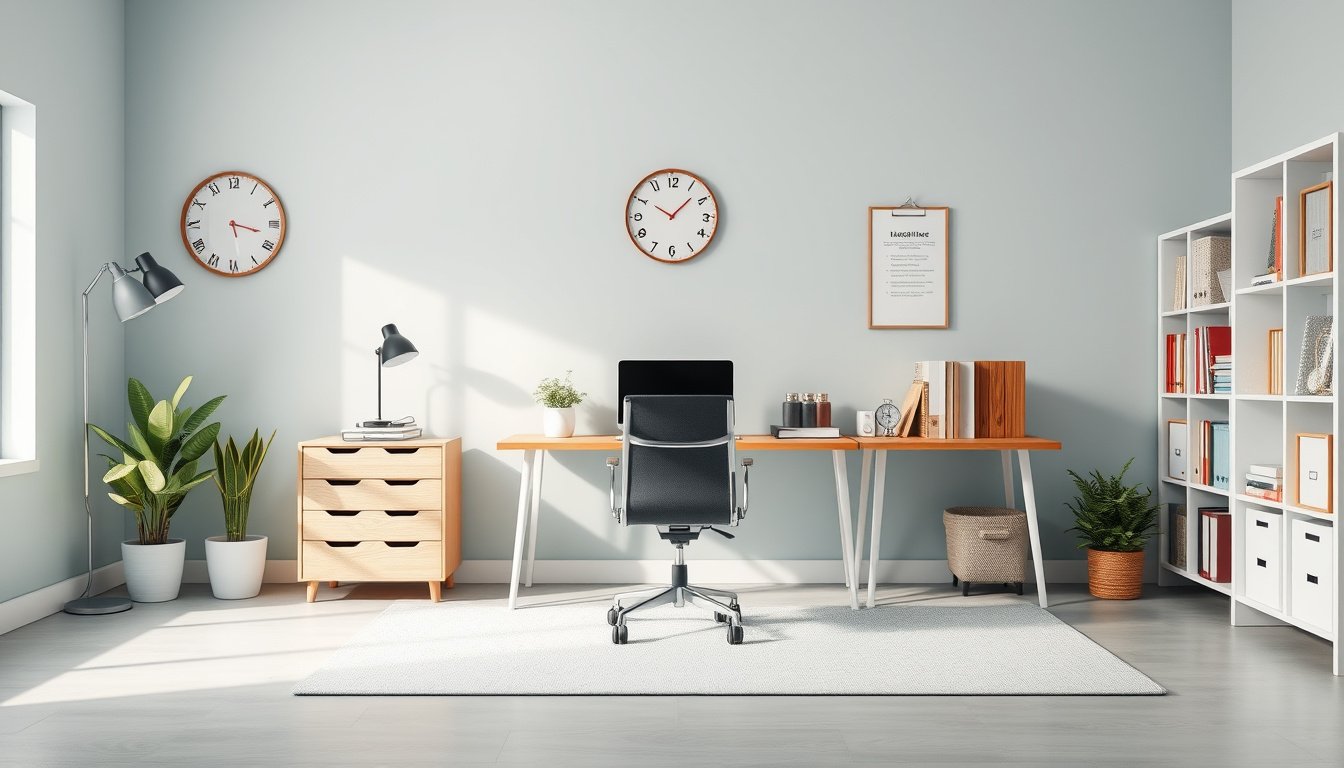
How to choose the right desk, chair, and storage
In how to furnish a home office, the fastest path to comfort starts with measurements that match the body, not the room. A practical rule is to select the desk first, then fit the chair, and only then design storage around the workflow. This order prevents rework when cable runs and drawer clearances do not align.
Most people fail at this stage because they buy a desk that looks right in the showroom, not one that supports ergonomic desk height and leg clearance. For a concrete example, a 5 ft 9 in person who chose a 28.5 in desk found knees hit the underside after 20 minutes; switching to a 26.5 in desk restored comfortable foot placement and improved typing endurance over a two-week trial.
Look closely at chair reach: a desk that is too deep can force the keyboard forward, even if the chair height is correct. The same setup can feel fine on day one and become painful by day ten when monitor height and armrest position drift out of alignment.
They should follow these steps in sequence for the desk, chair, and storage.
- Measure desk height, depth, and leg clearance using a seated posture with feet flat and knees unobstructed.
- Set chair seat height so thighs are roughly parallel to the floor and chair lumbar support contacts the lower back.
- Adjust armrests so elbows stay near 90 degrees without shoulder elevation or wrist strain.
- Choose storage that keeps frequently used items within a natural reach zone without standing.
Desk sizing: height, depth, and leg clearance
Desk height should match the keyboard plane so wrists remain neutral and shoulders stay relaxed. Depth should allow the monitor to sit at a comfortable viewing distance while leaving room for forearms.
He should confirm leg clearance by checking knee-to-desk underside distance with the chair fully pushed in. This is where cable management planning matters, because power strips and conduits can steal space from the legs and the chair path.
One-liner: A desk that clears knees and supports keyboard height reduces strain faster than any cushion.
Chair fit: seat height, lumbar support, and armrests
Seat height is correct when hips are slightly higher than knees and feet rest flat. Chair lumbar support should land on the curve of the lower spine, not on the mid-back.
She should test armrests by typing for five minutes while maintaining a stable shoulder position. If armrests lift elbows above the work surface, it usually forces the user to compensate with the neck and wrists.
One-liner: Proper chair lumbar support is the difference between “comfortable” and “sustainable.”
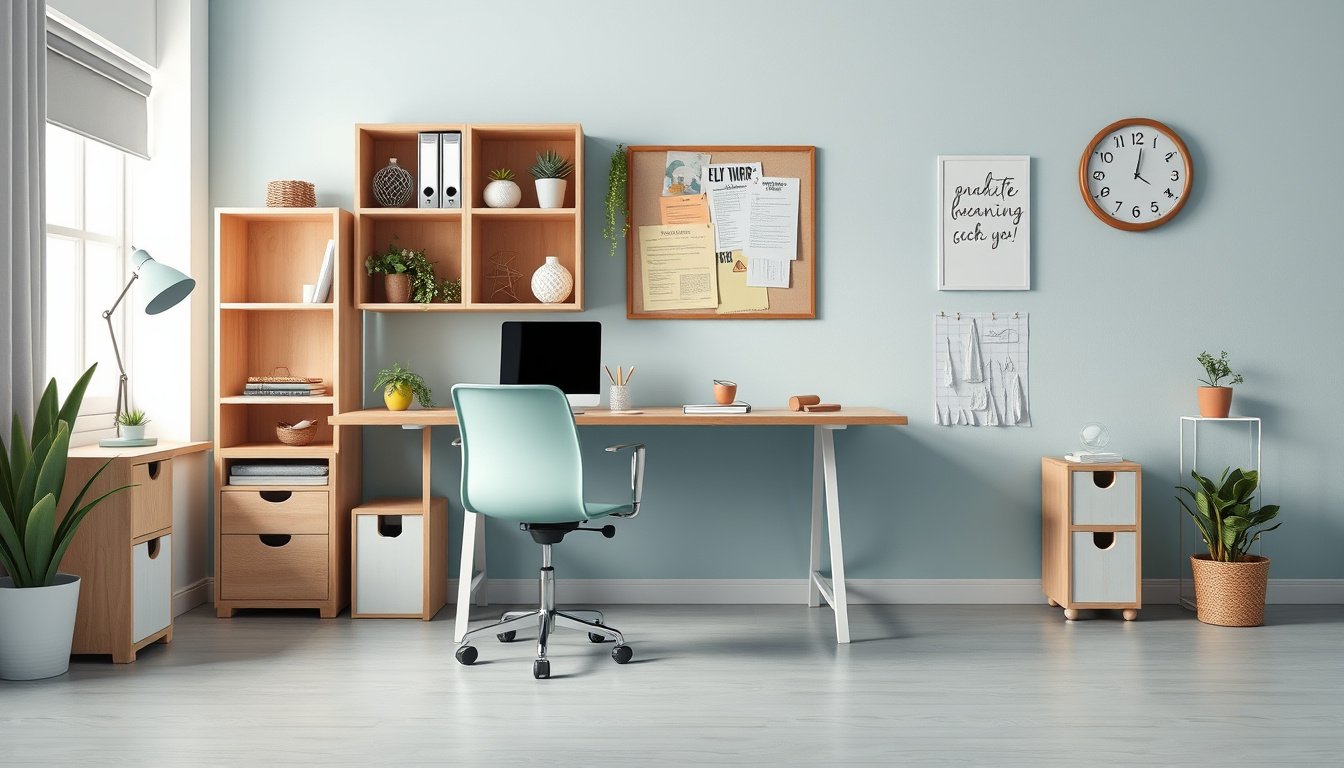
Storage strategy: vertical, closed, and frequently used
Vertical storage reduces desk clutter, which helps maintain consistent monitor height and reduces reach errors. Closed cabinets keep visual noise down, while open shelves can hold items used daily.
They should place frequently used tools in drawers or bins at elbow-to-shoulder height to reduce micro-stands. Afterward, they can revisit how to furnish a home office by aligning storage with cable routing and task lighting placement.
One-liner: Storage that matches reach patterns prevents desk drift and keeps workflows predictable.
Which lighting and accessories improve comfort and focus?
In how to furnish a home office, lighting layers and task accessories determine whether work feels steady or strained. Most people fail because they treat lighting as a single overhead source, not a controlled system for eyes and attention. The result is glare, uneven brightness, and needless micro-pauses.

He should start with ambient lighting that keeps room contrast low, then add task lighting aimed at the work surface. For a concrete example, a remote worker who switched from a ceiling-only lamp to a 400–500 lumen desk lamp with a warm-neutral 3500–4000K target reduced screen squinting within two weeks. They also kept the monitor brightness near the room average, not near the lamp’s peak.
They should control glare with monitor placement and shades, because reflections matter more than color temperature. A common misconception is that “brighter is better,” yet glare from a poorly angled screen can cause slower reading and more blinking. In how to furnish a home office, positioning the monitor so windows sit to the side, then using roller shades, often improves comfort faster than replacing fixtures.
One-liner: Layered lighting supports steady vision, while glare control prevents attention loss.
Use three lighting layers
Ambient lighting sets the baseline, task lighting drives clarity, and accent lighting reduces harsh transitions across the room. He should keep each layer independently dimmable so the workspace adapts to time of day. This approach supports consistent focus without forcing the eyes to constantly re-adjust.
- Ambient lighting should fill shadows so the desk area does not look darker than the screen.
- Task lighting should land on paper, keyboard, or notes with minimal spill into the monitor.
- Accent lighting should add low-level background glow to reduce contrast spikes around the periphery.
- Dimmer control should allow quick tuning when clouds, lamps, or daylight change.
Control glare with monitor placement and shades
She should set monitor height and angle so the top edge stays near eye level, supporting monitor height comfort. A second step is choosing shades that block window reflections while preserving usable daylight. If glare persists, they can rotate the desk slightly rather than moving the lamp repeatedly.
Add accessories for comfort and order
They should add cable management to prevent tension on the chair path and to keep power cords out of sightlines. A footrest can stabilize posture, especially when ergonomic desk height does not match leg length. For note-taking, an organizer tray reduces reach distance and supports chair lumbar support habits.
In how to furnish a home office, these accessories work best when they remove friction from movement and vision. When the workspace stays quiet, the work rhythm becomes easier to maintain, even during long sessions.
Common mistakes when furnishing a home office (and how to fix them)
When someone asks how to furnish a home office, most failures come from measurement and human factors, not from taste. The reality is that small setup errors compound into discomfort, wasted time, and clutter.
She can avoid the first trap by treating planning as a constraint exercise. A buyer who skips measuring places a 120 cm desk against a 90 cm door swing, then loses access to filing drawers every day.
Buying furniture without measuring first
He should measure the room, door paths, and chair arc before ordering any furniture for how to furnish a home office. One-liner: Accurate dimensions prevent expensive returns and daily friction.
- Measure the desk footprint, including cable clearance behind the monitor.
- Map the chair swivel radius so it does not hit walls or cabinets.
- Check door swing and drawer pull clearance with the chair fully seated.
- Confirm floor conditions, because thick rugs can change chair height by 2–3 cm.
Ignoring ergonomics and cable clutter
They often correct posture late, after pain appears, because ergonomic desk height and chair lumbar support were not validated during setup. A typical fix is to set monitor height so the top of the screen aligns near eye level, then adjust the chair and keyboard position to reduce reach.
Cable management is equally practical, since loose cords pull monitors forward and block power access during meetings. Installing cable management clips behind the desk and routing charging cables along the side panel keeps task lighting steady and reduces desk reconfiguration.
One-liner: Comfort and tidy cables reduce micro-interruptions that break focus.
Overdecorating and under-managing workflow
She may add organizers and decor, yet still lose time because the workflow lacks a predictable staging zone. A workable rule is to keep only three categories visible: active documents, reference items, and tools for the current task.
When they limit clutter, they can add storage later without disrupting monitor height or the cable path. One-liner: Less visible inventory makes work steps faster and easier.
Near the end of the setup, he should re-check how to furnish a home office by testing five real tasks for 15 minutes each. If any step requires standing, reaching beyond arm’s length, or replugging devices, the layout needs adjustment.
Turn your space into a reliable work setup
The two most important takeaways are that a home office should match real work patterns, and that comfort depends on removing friction from movement and vision. When desk, chair, storage, and lighting are chosen for how tasks actually happen, the workspace stays usable across long sessions. When accessories reduce small interruptions, focus holds more consistently, and he can maintain a steadier work rhythm.
Start today by doing a 15-minute “real task test” in the finished setup, then adjust one element based on what felt hardest to repeat. If standing or reaching beyond arm’s length appears, he should reposition the desk or storage so the next action stays within reach.
After the test, he can treat the setup as a system that improves with evidence, not guesswork.