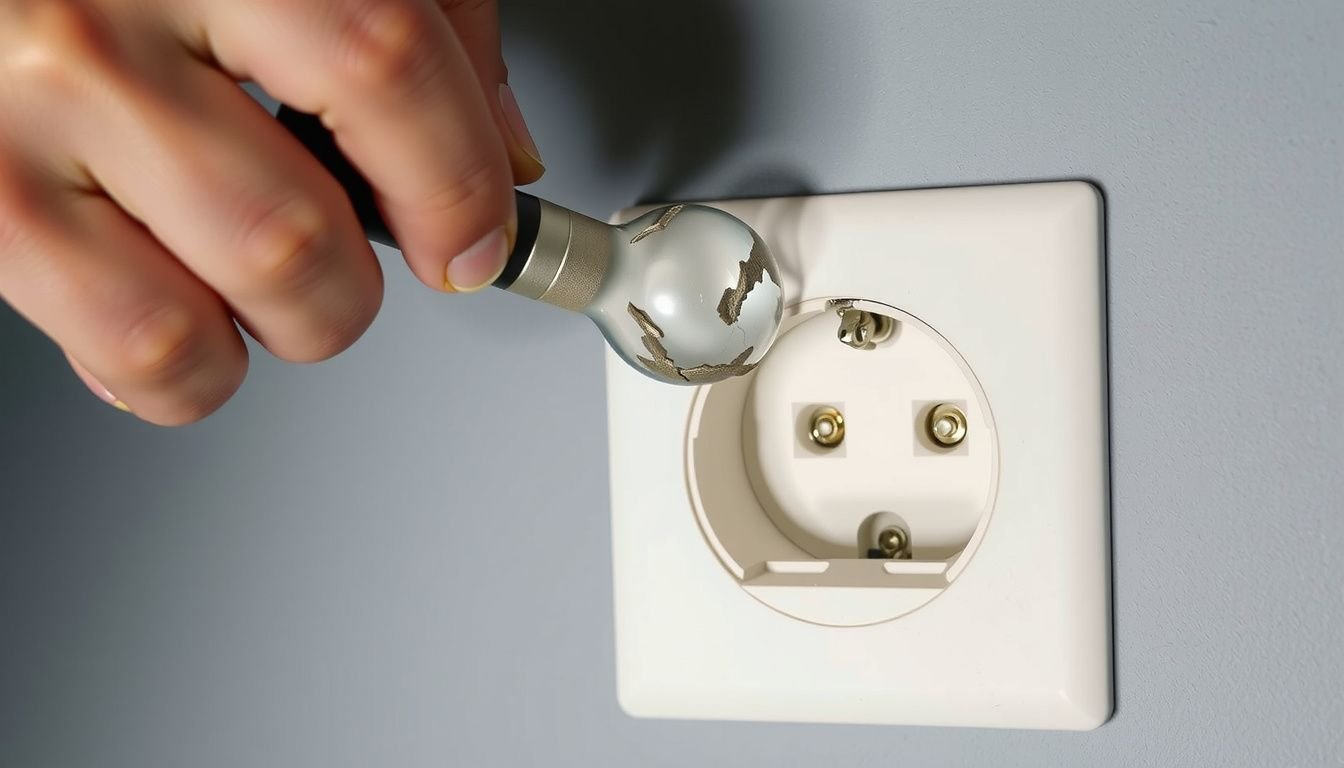
How to remove broken light bulb from socket is mostly about controlling two hazards: electricity and sharp glass. When a bulb snaps, the instinct is to grab what’s left and twist. That’s when cuts happen, or the socket gets damaged and starts arcing later.
The safest approach is methodical. Power gets shut off, the bulb is allowed to cool, and the broken parts are removed in a controlled way. Then the remaining metal base is backed out with the right grip and the right direction.
Look, if the fixture shows burn marks, the socket feels loose, or the wiring looks brittle, they should stop and call an electrician. A five-minute fix isn’t worth a melted socket or a shock.
Confirm the Power Is Off and the Bulb Is Cool
They should switch the light off, then shut power off at the breaker—not just the wall switch. Many fixtures still have live conductors even when the switch is off, especially with miswired circuits.
Next, they should verify power is actually off. A non-contact voltage tester near the socket is the fastest check. If they don’t have one, they should at least confirm other lights on the same circuit are dead.
- Wait 10–15 minutes for the bulb and socket to cool.
- Remove lampshades or globes for clear access.
- Work in bright light using a flashlight, not the fixture.
Pro tip: Tape the breaker “OFF” so no one flips it back on mid-job. Common mistake: touching the socket tab or threads “just to check” while power is still on.
Gather the Right Tools and Protective Gear
They should gear up before touching anything. Broken glass can fall into sleeves, eyes, or carpet. A few basic tools prevent improvising with unsafe grips.
- Safety glasses
- Cut-resistant gloves or thick work gloves
- Needle-nose pliers or locking pliers (Vise-Grips)
- Non-contact voltage tester
- Duct tape or painter’s tape
- Small flathead screwdriver (for debris only, not prying live parts)
If they expect a stubborn base, a purpose-built bulb extractor is worth having. It grips the metal shell without crushing it.
Pro tip: Put a drop cloth or cardboard under the fixture to catch shards. Common mistake: using bare hands “carefully” and ending up with embedded slivers.
Inspect the Socket and Identify the Break Type
With power confirmed off, they should look closely at what failed. The removal method depends on what’s still attached: glass, the metal base, or both.
- Glass mostly intact: the bulb can sometimes be turned out with tape for grip.
- Glass gone, base stuck: the threaded metal shell must be backed out.
- Base separated and crushed: a bulb extractor or locking pliers is usually required.
They should also inspect the socket interior. If the center contact tab is bent upward aggressively, or the threads are charred, the socket may be unsafe to reuse.
Pro tip: Take a photo before touching anything; it helps confirm what moved if parts shift. Common mistake: prying against the socket’s center contact, which can damage it and create a poor connection later.
Remove Loose Glass and Clear the Work Area
They should remove any loose glass first. Leaving shards in place makes the next steps risky and can cause the pliers to slip.
For larger pieces, they should gently pull them out while supporting the base so it doesn’t twist deeper into the socket. For tiny fragments, tape works better than fingers.
- Press duct tape onto exposed shards to lift them off.
- Drop glass into a rigid container (jar or can), not a thin trash bag.
- Vacuum the area after the base is removed, not before.
Pro tip: If it’s a ceiling fixture, they should wear a hat to keep glass out of hair. Common mistake: shaking the fixture to “knock pieces out,” which can spread shards and scratch lenses.
Extract the Bulb Base With Pliers or a Bulb Extractor
Once only the metal base remains, they should grip it firmly and turn it counterclockwise (lefty-loosey). Needle-nose pliers can be placed inside the base, opened outward to bite the metal, then turned.
If the shell is thin or deformed, locking pliers on the rim may hold better. A bulb extractor can also be inserted and turned with steady pressure.
- Keep pressure straight; don’t wobble the socket.
- Turn slowly to avoid stripping threads.
- Stop if the socket body twists—hold the socket steady.
Real-world example: In a bathroom vanity, they can shut off the breaker, remove the glass shade, then use needle-nose pliers inside the base to back it out in one controlled turn, avoiding cuts and preventing the thin metal from collapsing.
Common mistake: squeezing too hard and crushing the shell, which makes it harder to grip and can jam it tighter.
Use the Potato Method Only as a Last Resort
The potato method can work, but it’s messy and unreliable. They should only use it when the base edge is sharp, pliers can’t grip safely, and a bulb extractor isn’t available.
They should cut a raw potato in half, press the flat side firmly into the broken base, and twist counterclockwise. The potato must be large enough to fill the opening and bite into the metal.
- Wear gloves and eye protection.
- Use a fresh, dry cut surface for traction.
- Stop if the potato tears or slips.
Pro tip: A thick rubber jar-opener pad often grips better than potato. Common mistake: pushing so hard the socket’s center tab bends, creating flicker later.
Clean the Socket and Check for Damage Before Replacing
After the base is out, they should clean the socket threads and remove any debris. A dry cloth or a soft brush works well. They shouldn’t spray cleaner into the socket.
They should inspect for heat damage and poor contact points. Warning signs include black soot, melted insulation, a loose socket shell, or a center tab that’s flattened.
- If the center tab is slightly low, they can gently lift it with a screwdriver only with power off.
- If the socket is cracked or scorched, replace the socket or the fixture.
- Match the new bulb’s wattage to the fixture rating.
Pro tip: If bulbs frequently stick, a tiny dab of dielectric grease on the bulb base threads (not the contacts) can help. Common mistake: installing an over-wattage bulb that overheats and seizes.
Restore Power, Test the Fixture, and Prevent Future Breaks
They should install the new bulb gently, turning clockwise until snug. Over-tightening is a common cause of future breakage and stuck bases.
Then they can restore power at the breaker and test the switch. If the light flickers, buzzes, or the bulb doesn’t turn on, they should shut power off again and re-check the socket tab and bulb fit.
- Use the correct bulb type (LED for lower heat and longer life).
- Don’t exceed the fixture’s wattage rating.
- Turn bulbs in by the base, not by the glass.
Pro tip: For hard-to-reach fixtures, a bulb changer pole reduces twisting pressure on the glass. Common mistake: reusing a bulb with a damaged base, which can bind and break again.
Quick Answers
Can they remove a broken bulb with the power on if they’re careful?
No. Even brief contact with energized metal can shock them, and a tool can short the socket. They should shut off the breaker and verify with a voltage tester before touching the socket.
What if the metal base spins but won’t come out?
The threads may be cross-threaded or the shell may be deforming. They should stop, re-grip with locking pliers, apply steady counterclockwise torque, and avoid wobbling. If the socket twists, the fixture may need repair.
Is it safe to use a screwdriver to pry the base out?
Prying can crack the socket, bend the center contact, and create arcing later. They should use needle-nose pliers inside the base or a bulb extractor designed for this task.
Why does the bulb base get stuck in the first place?
Over-tightening, heat buildup, corrosion, and mismatched wattage can seize the threads. Using LEDs, staying within the fixture rating, and tightening only until snug reduces the chance of a stuck base.
When should they call an electrician?
If there are burn marks, melted parts, loose wiring, a cracked socket, repeated flickering, or they can’t confirm the power is off. A damaged socket can become a fire risk if reused.
You’re Ready
They can remove a broken bulb safely by shutting off power at the breaker, clearing glass, and backing out the metal base with controlled grip and steady counterclockwise turns. The goal is simple: no cuts, no bent socket contacts, no damaged threads.
Next actions: they should install a correctly rated replacement bulb, test the fixture for stable operation, and monitor for heat or flicker. If the socket shows scorching, cracking, or looseness, they should replace the socket or bring in a licensed electrician before using the fixture again.
Related read: How to Replace a Tail Light Cover Without Damage