How to protect door from dog scratching starts with treating the door like a high-wear surface and the dog like a problem-solver. Scratching usually isn’t “bad behavior.” It’s a signal: excitement, anxiety, boredom, or a learned routine that pays off when someone opens the door. The fix works best when protection and training happen together.
They should first identify where the claws land and why. Then they can choose a barrier that matches the door material, the dog’s size, and the home’s layout. Some solutions are temporary and renter-friendly.
Others are semi-permanent and built for heavy use.
Look, a protected door still needs follow-through. If the dog keeps practicing scratching, the habit sticks. The goal is to block damage today and reduce the urge tomorrow.
Assess the Scratching: Identify Triggers and Damage Level
They should start by mapping the damage. Scratches clustered near the handle often mean “let me out.” Marks low on the door, especially after guests arrive, usually point to excitement. Deep gouges and splintering can indicate separation anxiety or sustained attempts to escape.
Next, they should watch for patterns. A simple phone video during common trigger times (deliveries, departures, feeding) reveals whether scratching is brief or persistent. That determines how heavy the protection needs to be.
- Trigger check: doorbell, owner leaving, other pets outside, meal times.
- Surface check: painted wood dents easily; hollow-core doors puncture; metal resists but paint can scuff.
- Height check: measure from floor to highest scratch to size any panel correctly.
Common mistake: buying a small kick plate without measuring scratch height. Dogs often scratch higher than expected when they jump.
Gather Materials and Prep the Door Before You Start
They’ll get cleaner results if they prep first. Dirt and oils reduce adhesion for films and make hardware sit unevenly. They should clean the door with mild soap and water, dry it fully, then wipe the target area with isopropyl alcohol (test on a hidden spot for painted finishes).
They should choose materials based on durability and reversibility. Renters often prefer adhesive films or temporary panels. Homeowners may choose screw-mounted kick plates or full-height guards.
- Measuring tape, pencil, level
- Microfiber cloths, mild cleaner, isopropyl alcohol
- Scissors/utility knife (for film), drill/driver (for hardware)
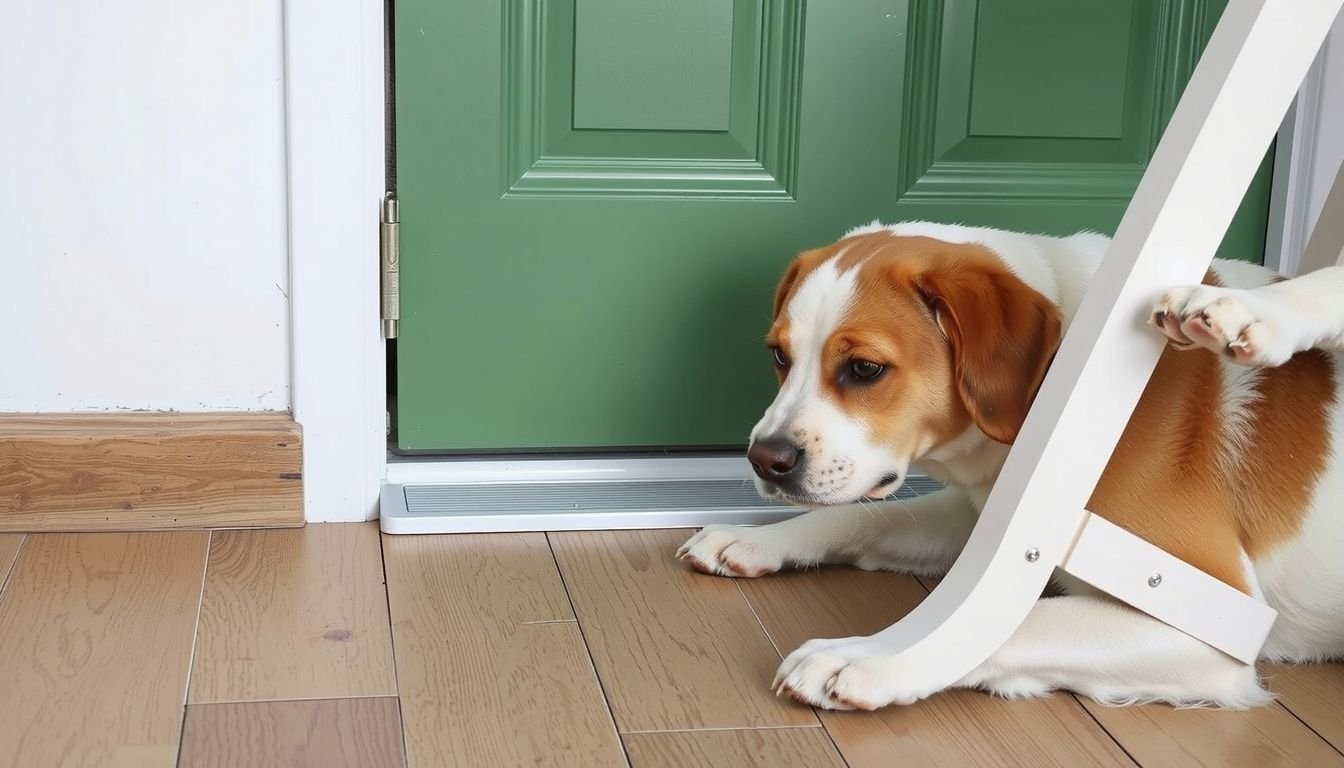
- Protection option: clear film, acrylic panel, metal kick plate, or a freestanding gate
Pro tip: if the door already has splinters, they should sand lightly and seal with primer/paint before installing protection. Sealing prevents moisture intrusion and makes barriers sit flat.
Install Door Protection: Barriers, Films, and Hardware
They should pick the least-invasive option that still stops claw contact. For mild scratching, clear protective film can work. For repeated, forceful scratching, rigid panels or physical barriers outperform film.
For film, they should cut to size, peel backing gradually, and squeegee from center outward to avoid bubbles. For panels or plates, they should pre-drill pilot holes and use a level. If the door is hollow-core, they should use appropriate anchors or mount into solid rails when possible.
Common mistake: mounting only at the corners. Claws pry edges up. They should secure edges and midpoints to prevent flex.
Train and Reinforce Better Habits to Stop Scratching for Good
Protection prevents damage, but training prevents repetition. They should teach an alternative behavior that can’t happen at the same time as scratching, like “sit on the mat” or “touch” to a target. The rule is simple: scratching never opens the door; calm behavior does.
- Manage triggers: use a gate or leash during peak times so the dog can’t rehearse scratching.
- Reward calm: treat and praise when the dog stands quietly or sits near the door.
- Increase enrichment: stuffed food toys, sniff walks, and short training sessions reduce bored scratching.
Practical example: A family with a 60-lb rescue dog saw scratches spike at delivery times. They placed an x-pen 3 feet from the door, taught “go to bed,” and rewarded calm for 10 seconds before opening the door. Within two weeks, the dog ran to the mat when the bell rang, and the door stopped taking hits.
Pro tip: if scratching happens when they leave, they should practice short departures, return before the dog escalates, and build duration slowly. Persistent panic may require a trainer or veterinarian support.
Next Steps
They should start today with measurement and trigger tracking. One quick video and a tape measure usually reveal whether they need film, a rigid guard, or a full contact-free barrier. Then they can install protection on the exact scratch zone, securing edges so claws can’t lift it.
After the door is protected, they should run a two-week training plan: prevent practice, reward calm at the door, and add daily enrichment that fits the dog’s energy level. If scratching is paired with whining, drooling, or destruction when alone, they should treat it as anxiety, not stubbornness, and get professional help sooner rather than later.
Related read: How to keep a dog from scratching door: 7 steps