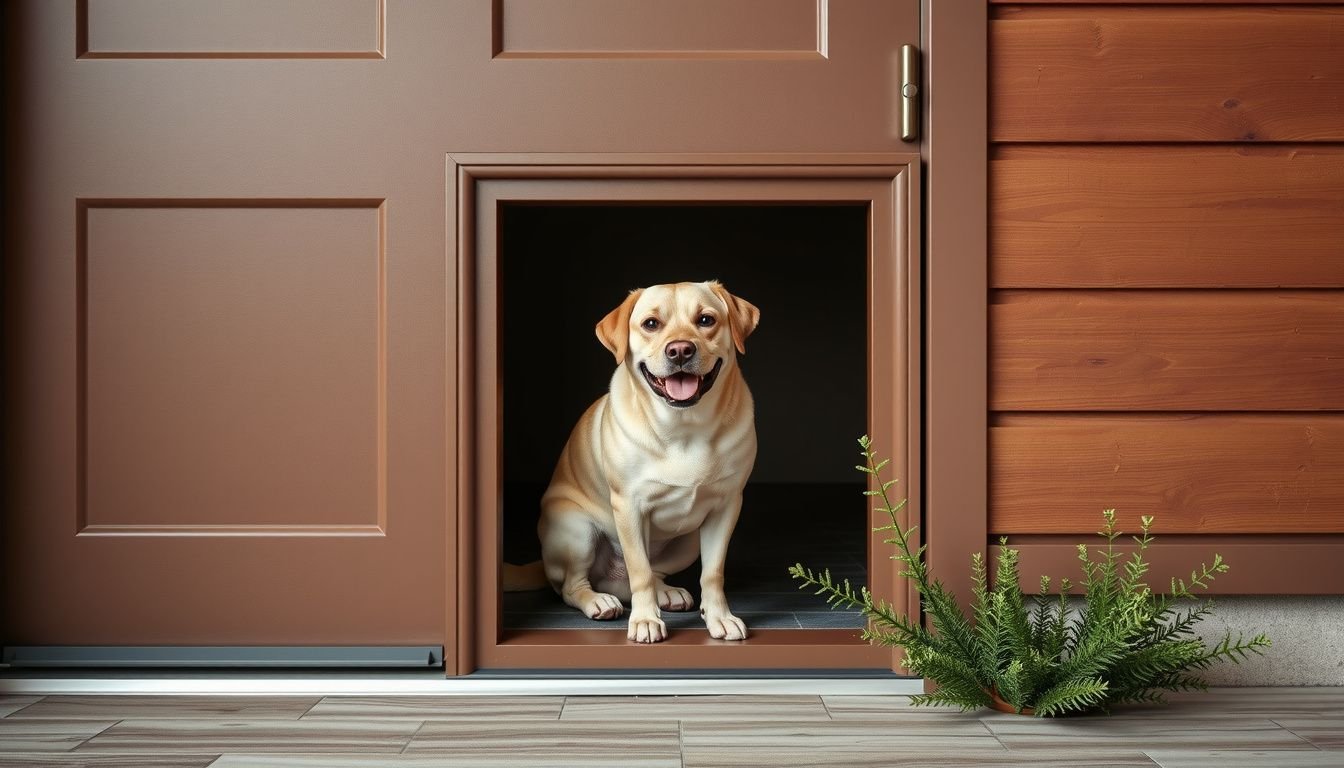
How to install a dog door in a metal door comes down to accurate sizing, clean cutting, and weather-tight sealing. Metal doors can be hollow-core or insulated, so the installer has to treat the opening like a small “window” and protect the exposed interior. Done right, the flap swings freely, the door stays rigid, and drafts don’t sneak in.
They should plan for noise and sparks, work slowly, and measure twice. A metal door isn’t forgiving if the cut drifts. The good news: most pet door kits include a template, interior/exterior frames, and screws designed to clamp the door skin securely.
Look, the process is straightforward when it’s broken into phases: confirm fit and safety, lay out the cut, cut and reinforce, then install and seal. With the right tools, many DIYers finish in an afternoon.
Confirm Fit, Tools, and Safety Before You Start
They should confirm the pet door size using the dog’s shoulder height and width, then verify the metal door can accept a cutout. Many exterior metal doors are insulated with foam; some have internal stiffeners that can interfere with placement.
Next, they should check clearances on both sides. The flap must open without hitting a storm door, steps, or a railing. If the door has a low kick plate, glass insert, or decorative panel, the cut location may need to shift.
- Tools: drill, step bit or metal bits, jigsaw with 24–32 TPI metal blade (or nibbler), file, tape measure, square, clamps, vacuum.
- Materials: rust-inhibiting primer/paint, exterior-grade silicone or butyl tape, shims (if needed), scrap wood for backing.
- Safety: eye protection, gloves, hearing protection; unplug the door closer if it could swing shut.
Pro tip: They should buy one extra jigsaw blade; cutting steel dulls blades fast. Common mistake: skipping PPE—metal shards are sharp and persistent.
Measure, Mark, and Prep the Metal Door for Cutting
They should remove the door from hinges if possible and set it on sturdy sawhorses. A flat, stable surface keeps the cut square and reduces vibration, which helps prevent chipped paint and warped metal.
Then they should find the correct height. Most manufacturers want the bottom of the opening roughly level with the dog’s chest or 1–2 inches below the shoulder line, depending on the flap style. They should use the included template, centering it left-to-right unless framing dictates otherwise.
- Apply painter’s tape where the template will sit to protect the finish.
- Mark the outline and screw holes; confirm with a square that lines are plumb.
- Drill pilot holes at corners for the jigsaw blade, staying inside the cut line.
Pro tip: They should mark a second “no-cross” line 1/16 inch inside the template to remind them to cut conservatively. Common mistake: measuring from the door bottom without checking if the door is out of level in the frame.
Cut the Opening and Reinforce the Door Core
They should clamp a scrap wood backer behind the cut area when possible. It reduces chatter and helps the blade start cleanly. For thin steel skins, a slow jigsaw speed with steady pressure usually produces the straightest cut.
They should cut one side at a time, stopping at corners rather than forcing turns. If the door is foam-filled, the blade will transition from metal to foam and back to metal; they should keep the saw level to avoid widening the cut.
- Cut the perimeter just inside the line, then test-fit the frame.
- File sharp edges; vacuum metal shavings immediately to prevent rust spots.
- Seal exposed metal with rust-inhibiting primer/paint before final assembly.
Now reinforce the core if the kit requires it. Many pet doors include a plastic or metal tunnel; if the door is hollow, they can add a simple wood or PVC “picture frame” inside the cavity to keep the skins from flexing.
Common mistake: installing without edge protection, which can lead to corrosion and a loose, rattling frame over time.
Install, Seal, and Test the Dog Door for Smooth Operation
They should dry-fit both halves of the dog door, confirming the flange sits flat and the screw holes align. If the door has a curved skin or embossed panel, they may need thin shims so the frame clamps evenly without twisting.
Next, they should apply weather seal. Many installers prefer a continuous bead of exterior silicone or a ring of butyl tape under the exterior flange to stop wind and water. They should avoid excess that could squeeze into the flap hinge area.
- Set the exterior frame, then align the interior frame and start screws by hand.
- Tighten in a crisscross pattern until snug; don’t over-torque and warp the frame.
- Check the flap swing, magnet closure, and any locking panel fit.
Practical example: If they’re installing a medium flap for a 45 lb dog on an insulated steel back door, they might add a 1×2 wood reinforcement ring inside the foam cavity so the screws bite firmly and the flap doesn’t wobble when the dog pushes through.
Pro tip: They should test for drafts at night with a flashlight from one side and look for light leaks around the frame. Common mistake: tightening screws until the plastic bows, which creates gaps and sticky flap movement.
You’re Ready
They’ve completed the core steps: confirm fit, mark carefully, cut cleanly, protect the exposed metal, and seal the frame. The final check is simple but worth doing. They should open and close the main door several times, confirm the pet flap clears thresholds, and verify the lock panel (if included) slides in without binding.
Over the next week, they should recheck screw tension and the exterior seal line after temperature swings. If the flap starts to rub, a slight screw re-balance usually fixes it. With a solid clamp and good weatherproofing, the dog door should stay quiet, tight, and easy for the dog to use year-round.