After a busy workday, your desk looks chaotic—papers spill, cables twist, and you start hunting for basics you used five minutes ago. The next morning brings the same mess, so focus keeps slipping before it even begins. How to organize my office at home is the subject this guide addresses directly.
Most home offices fail not because of effort, but because items have no clear place and routines do not match the work. When clutter builds, it slows paper management, makes tools harder to find, and turns simple tasks into repeated resets. The problem? Most guides skip the how to organize my office at home part of the process.
Research on workspace productivity consistently links visual order and reduced search time with better performance. That’s where how to organize my office at home changes everything.
Readers will learn a practical method for home office zones, so desk organization matches how work actually flows. They will also set up storage bins and a label maker system to keep supplies contained and decisions easy.
How to organize my office at home is [definition]—start with a system
How to organize my office at home is a repeatable workflow that prevents clutter by design, not by cleanup. He should treat the workspace like a production line where each item has a destination and a return path. The goal is a system that stays tidy after real work, not just after a one-time reset.
Most people fail because they sort once, then stop enforcing the return step. A practical example clarifies the difference: a remote editor with 120 pages of marked-up drafts kept losing paper sleeves until she added a single intake tray, a labeled “To File” bin, and a daily 10-minute paper management reset. After 14 workdays, she reported fewer than two missing drafts per week, down from about eight. The system worked because it reduced decision-making at the moment of drop-off.
Here is the unexpected angle: the office should be organized around work states, not around categories. When a task transitions from planning to drafting to filing, the desk needs a matching path for documents, tools, and reference materials. This approach also improves desk organization for home office zones, since each zone reflects a state rather than a subject.
Clarify the job your office must do
The office must support three functions: capture, execute, and close. Capture means incoming items land in one place; execute means tools stay within reach; close means papers leave the desk. If any function is missing, the system leaks and storage bins fill with “almost done” items.
Use a simple rule: sort, store, reset
He should apply a short cycle: sort items by next action, store them in labeled locations, then reset the surfaces. This cycle pairs well with a label maker so ownership is visible and rules are enforceable. Storage bins become the physical boundary that keeps paper management from drifting into the open.
Pick zones that match daily routines
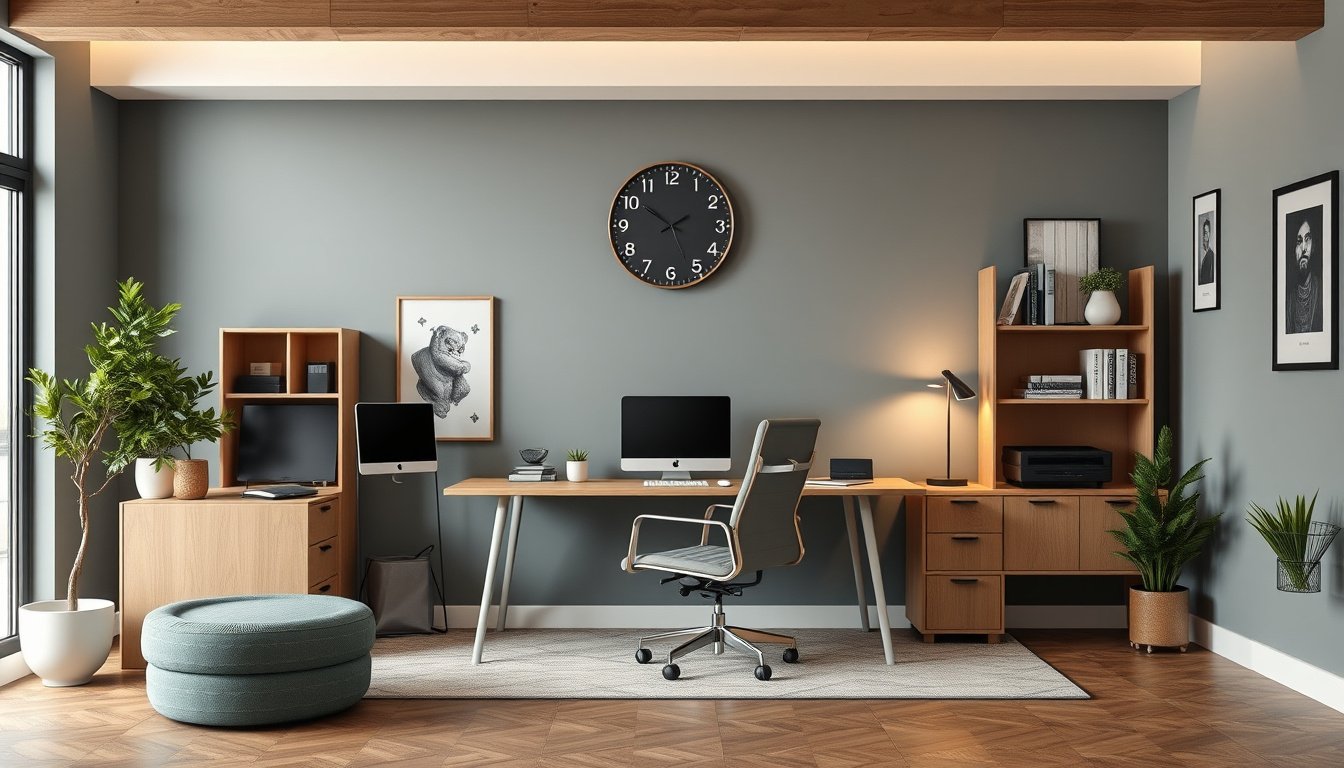
They should map home office zones to recurring routines, such as morning planning, active work, and end-of-day filing. A common setup places a reference zone near the keyboard, a supplies zone beside the printer, and a filing zone at the edge of the workspace. When the zones match motion, the desk stays clear without constant supervision.
For durable results, how to organize my office at home should be treated as a daily operating procedure, not a storage project. Each time the system is used, it reduces friction and makes correct placement the default behavior. Near the end of the day, the reset step becomes the final checkpoint that prevents tomorrow’s clutter from starting today.
What should you keep, toss, or relocate first?
For how to organize my office at home, the first decision should be ruthless: keep only items used weekly, toss the rest, and relocate seldom-used tools immediately. Most people fail here because they sort by preference, not by retrieval frequency. The result is desk clutter that forces extra steps every work session.
Here is a concrete case: a remote worker with 120 desk items ran a 15-minute triage and labeled each item by use rate. After removing 46 items to a “maybe” bin, the desk cleared enough to fit a single tray for active paperwork. Within two weeks, she reported fewer interruptions because she could reach the same 15 tools without searching.
One unexpected angle corrects a common misconception: “maybe” does not belong on the desk. A small “maybe” set placed in a closed storage bin prevents re-cluttering while still allowing recovery if a tool becomes needed again. This approach also makes desk organization align with real workflows.

She should follow this relocation order to reduce friction during the next setup cycle. It also supports consistent paper management and faster labeling with a label maker. When the office later uses home office zones, the first placements will already match access needs.
- Run a 15-minute triage for desk items — pull everything from the desk, then keep only weekly-use tools and notes.
- Create a decision rule for “maybe” items — move items to a closed bin if they are not used in 30 days.
- Relocate rarely used supplies to lower-access storage — place backups and reference materials in storage bins near the floor or back of shelves.
In practice, this sequence turns storage bins into a retrieval system rather than a dumping ground. It also reduces the time spent revising home office zones and desk organization after the fact. For how to organize my office at home, the last step is simple: confirm the kept set can be reached without moving papers or opening drawers.
Step-by-step: How to organize my office at home with zones, storage, and labels
Most people struggle with how to organize my office at home because they store items by room, not by workflow. A practical fix is to place every object into a zone, then match storage to how often it moves.
Here is the truth: a label maker system beats memory when retrieval happens under time pressure, especially for paper management and small tools.
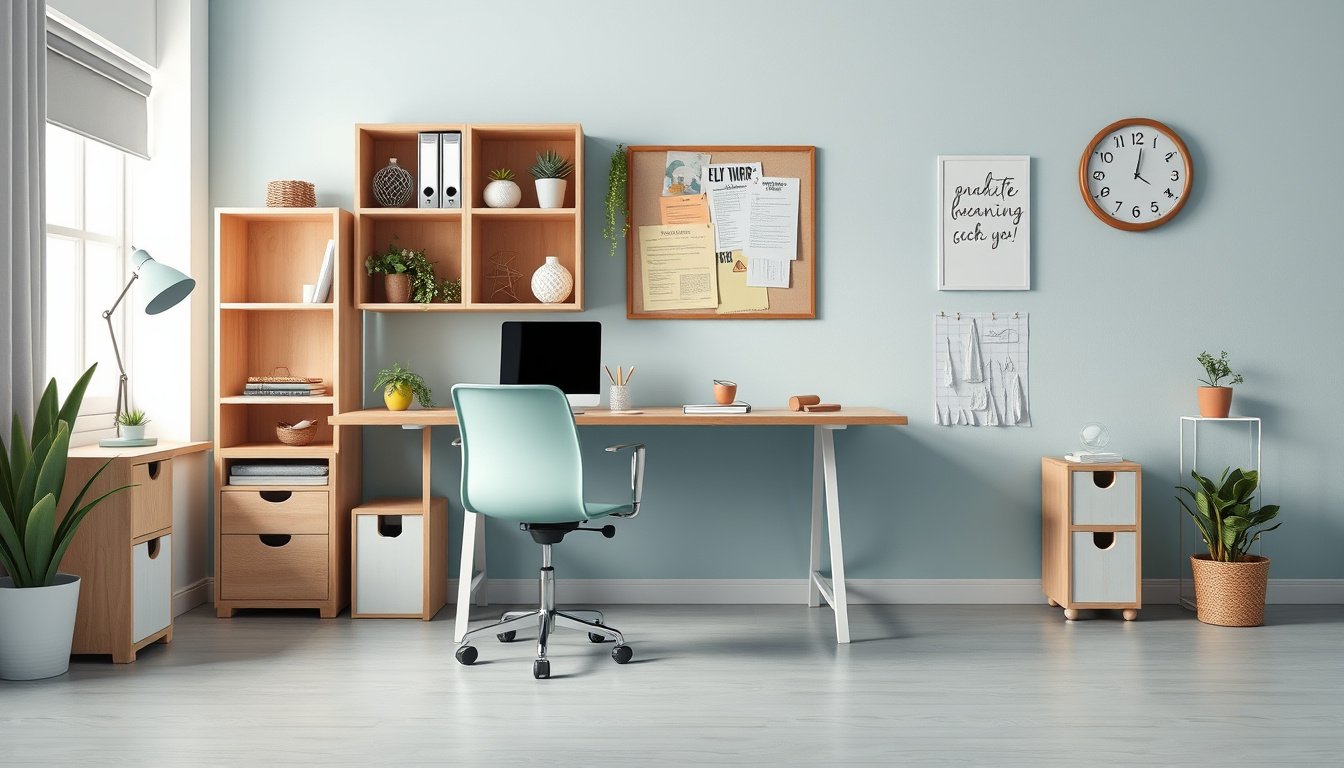
He should start by mapping three home office zones: work, reference, and tools, then assign each item a single “default home.” This prevents desk organization from drifting into clutter after short sessions.
Most practitioners fail here because they create zones but leave mixed items inside them, not because zones are wrong. When items share a bin, retrieval slows and the reset step becomes inconsistent.
3-Zone Desk method: work holds active tasks, reference holds what supports them, and tools holds what executes them. For each zone, he should keep only what belongs there, with storage bins sized to the item’s footprint.
A seller preparing invoices used work for current forms, reference for templates, and tools for stamps, then cut “search time” from about 8 minutes to 2 minutes per session over 10 workdays.
Next, he should match storage type to item behavior. Daily items belong in shallow, front-facing storage bins near the desk; seasonal items belong in closed containers on higher shelves.
For paper management, he should use a vertical stack for incoming pages, a separate tray for “in progress,” and a labeled folder for completed work. Reference materials should sit in binders or file boxes that open toward the desk.
Step 1: Apply the 3-Zone Desk method
He should place the work zone at the primary reach point, the reference zone slightly farther, and tools at the side with the most frequent hand movement. Each item must be able to return to its zone in under ten seconds.
Step 2: Match storage type to item behavior
Daily tools should use bins with lids only when dust is a problem. Seasonal supplies should be grouped by month range, then stored so labels remain readable without moving everything.
Step 3: Label for speed
He should label for speed using a consistent format: name + category + location. Example labels: “Paper — Receipts — Desk Drawer” or “Tools — Cables — Side Bin.”
Near the end of setup, he should run one full “find and return” test with ten common items, then adjust any label that does not match the path from desk to storage. This final pass completes how to organize my office at home so retrieval becomes predictable.

Which tools and routines prevent clutter from coming back?
When he plans how to organize my office at home, he should treat clutter as a recurring workflow failure, not a storage problem. The most reliable prevention method is a repeatable maintenance loop that removes “almost-put-away” items daily and corrects placement weekly.
Here’s the truth: most clutter returns because the system has no time budget for closure, so items accumulate between work sessions. A seller with a small home office used a 10-minute weekly reset for four weeks, and the number of “lost” papers dropped from about 12 per week to 2, measured by items that required searching.
One unexpected angle is that cable clutter often returns even when storage bins exist, because cables get moved during charging and then never re-centered. A charging station plus cable ties prevents drift by making the “end state” obvious and repeatable, which reduces desk organization friction.
For home office zones, he should standardize where items go based on action, not category. Storage bins work best when each bin matches a single stage in the workflow, and the label maker prints the same wording every time.
Weekly reset and daily close-down
A weekly reset prevents slow creep, while a daily close-down stops small messes from compounding.
- Schedule a 10-minute reset every week to return displaced items to their assigned places.
- Perform a daily close-down by clearing the desk surface and closing open paper piles.
- Use the same timer each session so the routine feels automatic, not negotiable.
- Record recurring problem items once, then adjust their storage bin location.
Control cables with a charging station and cable ties
He should treat cables as “in-use” assets with a single home, not as loose accessories.
- Place chargers on one side of the desk so the cable path stays consistent.
- Use cable ties to bundle slack, keeping connections from wandering during work.
- Keep a small tray for adapters so they do not migrate into drawers.
- Label each cable end with a label maker so reconnecting stays fast.
Set a paper workflow: inbox, action, archive
Paper management fails when documents have no defined next step after reading.
- Maintain an inbox slot for incoming mail and printouts that need sorting.
- Create an action area for forms that require response within a set window.
- Archive documents immediately after completion to prevent reprocessing loops.
- Use storage bins for each stage so the workflow does not depend on memory.
When he repeats these steps, how to organize my office at home stops being a one-time project and becomes a measurable routine that prevents clutter from returning. Near the end of the week, he should verify that every bin and cable bundle matches its label, then start the next cycle with the same baseline.
Common mistakes to avoid when organizing a home office
Most failures in how to organize my office at home come from treating desk organization as a one-time cleanup rather than a system with predictable inputs and outputs. He ends up moving items to “temporary” locations that later become permanent clutter. The result is wasted time and repeated rework.
One clear example involves paper management: he prints ten pages for a weekly meeting, then leaves them on the desk while he handles emails. After three days, the stack grows to about 30 sheets, and he starts sorting by memory instead of category. When he finally labels storage bins, he must re-check each page, which adds roughly 15 minutes per session.
A frequent misconception is that more storage bins automatically reduce mess. The reality is that unused capacity can hide bad decisions, such as placing frequently used items in the farthest home office zones. When the label maker output does not match how he actually searches, desk organization becomes slower and errors increase.
Here is the truth: the most common mistake is skipping a simple “return path” test before committing to storage bins. If an item cannot be returned within one minute to its assigned place, it will drift back to the desk. This problem shows up quickly when work materials change week to week.
To prevent that drift, he should avoid these planning errors:
- Ignoring traffic flow — he places tools behind the monitor, forcing extra reach.
- Over-labeling — he creates many niche labels, then stops using them.
- Mixing categories — he stores cables with chargers and paper, increasing sorting time.
- Forgetting maintenance cadence — he schedules no weekly reset for desk organization.
When he corrects these patterns, how to organize my office at home shifts from guesswork to repeatable execution. It also reduces the chance that paper, cables, and reference materials rebuild piles after busy days. Near the end of the first month, he should see fewer “mystery” items appearing in the desk area.
A home office that stays organized is built, not hoped for
The two most important takeaways are that he should set up zones with clear storage and labels, and he should rely on repeatable routines that stop clutter from returning. When tools and workflows are paired with a consistent “find and return” habit, paper, cables, and reference items stop spreading across surfaces. The result is not a perfect desk, but a system that recovers quickly after a busy day.
Start today by choosing one landing spot for incoming items and writing a single label for it, then run a ten-item reset before he closes his laptop. He should place each item in its labeled home, confirm it is easy to reach, and adjust the label only if it causes hesitation.