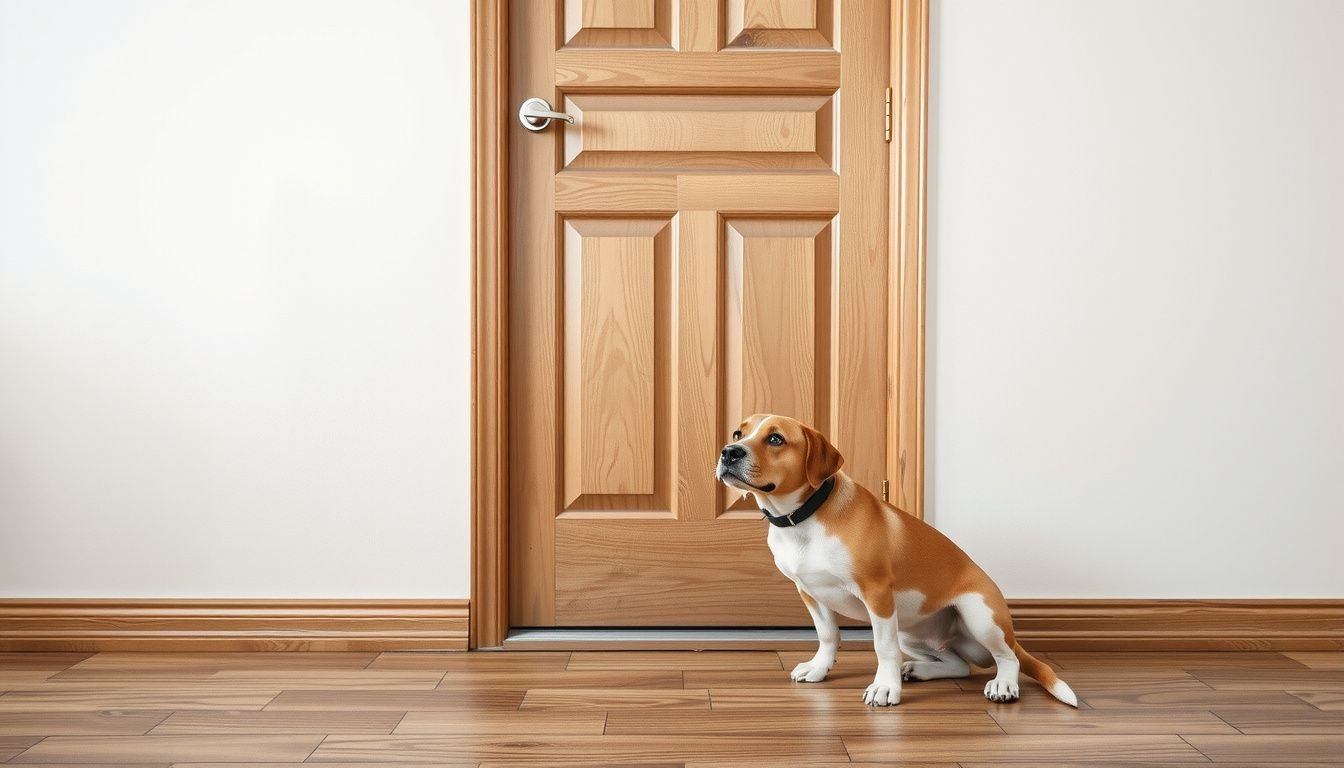
How to protect doors from dog scratches starts with understanding what’s driving the behavior and then matching the fix to the damage. Dogs scratch doors for access, attention, anxiety, or pent-up energy. The door takes the hit because it’s a boundary, not because it’s the “problem.”
Good protection uses two layers: a physical barrier (so claws can’t gouge wood or paint) and a behavior plan (so scratching happens less often). The best setups look clean, hold up to repeated impact, and don’t damage the door when removed.
Look, the goal isn’t a museum-perfect door. It’s a door that survives daily life while the dog learns better habits. The steps below walk through diagnosis, material selection, installation, and upkeep in a practical sequence.
Identify Why the Dog Scratches the Door
They’ll get better results by identifying the trigger before installing anything. Scratching usually happens for one of four reasons: separation distress, barrier frustration, attention-seeking, or noise/outside stimulation. Each cause changes what works.
They should observe timing and context for three days. Note whether scratching starts when someone leaves, when a delivery arrives, or when the dog hears activity outside. A quick phone video helps; patterns show up fast.
- Leaving the house triggers it: address anxiety, add confinement alternatives.
- Dog wants in/out: improve access routines, add a doorbell/potty signal.
- Owner approaches after scratching: stop reinforcing the behavior.
- High energy: increase exercise and enrichment before peak scratching times.
Common mistake: treating every scratch as “bad behavior.” For many dogs, it’s communication or stress, not defiance.
Inspect the Door and Choose the Right Protection Level
They should inspect the door edge-to-floor area where claws hit. Check for paint chipping, veneer peeling, soft wood dents, or deep gouges. Also inspect the frame and weatherstripping; dogs often catch the jamb with their nails.
Now choose protection based on severity and door type. A hollow-core interior door needs a different approach than a solid wood exterior door. If scratches are light, clear film may be enough.
If claws are digging in, a rigid guard or kick plate is the safer bet.
| Damage Level | Best Protection | Where It Works |
|---|---|---|
| Light scuffs | Clear protective film | Painted doors, smooth laminate |
| Repeated scratching | Scratch guard panel | Interior doors, lower 24–36 inches |
| Deep gouges/impact | Metal kick plate | High-traffic doors, strong dogs |
Pro tip: measure the dog’s shoulder height and protect at least that high, plus 4–6 inches.
Gather Tools and Materials Before You Start
They’ll avoid crooked installs and wasted adhesive by staging tools first. Most door-protection jobs fail because of poor prep or the wrong fasteners for the door surface.
- Cleaning: mild detergent, isopropyl alcohol (70%+), microfiber cloth
- Measuring: tape measure, pencil, level
- Cutting: utility knife, scissors, straight edge
- Installation: squeegee/credit card, painter’s tape, drill (if using screws)
- Protection: scratch guard panel, kick plate, or clear film; optional corner trim
Common mistake: using foam mounting tape on textured paint or dusty surfaces. It peels, then the dog pulls it off like a toy.
Pro tip: if renting, choose removable film or guards that use existing hinge/handle screws instead of new holes.
Clean and Prep the Door Surface for Adhesion
They should clean the door twice: first to remove grime, then to remove oils. Wash the lower half with mild soap and water, rinse, and dry fully. Then wipe the installation area with isopropyl alcohol and let it flash off.
Next, they should fix loose paint or splintered wood. Lightly sand flaking edges so the guard sits flat. If the door has deep gouges, fill with wood filler and let it cure; otherwise the guard may telegraph the damage and create stress points.
- Work in a dry room (ideal: 60–80°F) for best adhesion.
- Use painter’s tape to mark the top edge of the guard for straight alignment.
- Test adhesion on a small corner first if the paint is fresh or chalky.
Common mistake: sticking film over damp paint or cleaner residue. It traps moisture and lifts.
Install a Scratch Guard or Kick Plate for Impact Protection
They should choose a rigid barrier when the dog’s nails are gouging, not just scuffing. A scratch guard panel (acrylic or polycarbonate) is quiet and blends in. A metal kick plate is tougher and best for heavy impact near the bottom.
For adhesive-mounted guards, align to tape marks, peel the backing gradually, and press from center outward. For screw-mounted kick plates, pre-drill pilot holes to prevent splitting and keep the plate flush.
- Height: cover the main strike zone (often 24–36 inches).
- Edge safety: choose rounded corners or add edge trim.
- Fasteners: use short screws that won’t punch through hollow-core doors.
Pro tip: if the dog hits the door near the latch side, place the guard slightly wider there for extra coverage.
Apply Clear Protective Film to Prevent Surface Scuffs
They should use clear film when the goal is preserving paint or veneer from light scratches. Choose a thicker, pet-rated polyurethane film rather than thin shelf liner. It resists claw marks and removes cleaner than bargain vinyl.
Cut the film to size, leaving a small margin from door edges so it won’t catch. Mist the surface lightly with water (if the film is wet-apply), position the sheet, then squeegee from the center to push out bubbles.
- Overlap seams by 1/8 inch if using multiple pieces.
- Warm gently with a hair dryer to help edges conform (low heat only).
- Let it cure 24–48 hours before heavy use or washing.
Common mistake: stretching film to “make it fit.” It shrinks back and lifts at corners.
Add Barriers and Hardware to Reduce Contact at the Door
They’ll get the biggest durability gains by reducing how often claws reach the surface. Physical management prevents damage while training catches up. The right hardware also keeps the dog from practicing the scratching habit.
- Baby gate or exercise pen: creates a buffer zone away from the door.
- Door shield for the frame: protects jamb edges and weatherstripping.
- Door closer or latch adjustment: prevents doors from sitting ajar and inviting pawing.
- Mat or runner: improves traction so the dog doesn’t scramble at the threshold.
Practical example: In a busy household, they can place a baby gate 3 feet back from the front door, add a 30-inch clear guard on the door, and route deliveries to a side entrance for two weeks. The dog stops charging the door because it can’t reach it, and the scratching habit fades.
Common mistake: relying on a single solution. Barriers plus protection works faster.
Reinforce Training and Maintain the Protection Over Time
They should pair door protection with training so the dog learns a replacement behavior. Teach a “place” cue to a bed away from the door, then reward calm behavior when knocks or departures happen. For dogs that scratch to go outside, teach a bell or button cue and open the door only after the cue.
- Reward calm before opening the door; don’t reward scratching with access.
- Increase exercise and enrichment during high-trigger windows.
- Use white noise or window film if outside sights/sounds trigger the dog.
Maintenance matters. They should inspect edges weekly, re-press lifting corners, and clean guards with non-abrasive cleaner. Replace film when it clouds or peels; replace rigid guards if cracked.
Pro tip: if anxiety is severe (drooling, panic, self-injury), they should involve a veterinarian or certified behavior professional.
What to Do Now
They should start by identifying the trigger and mapping the scratch zone. Then choose protection that matches the damage: clear film for scuffs, a rigid scratch guard for repeated clawing, or a kick plate for heavy impact.
Next, they should clean and prep the surface properly, install the selected barrier carefully, and add management tools like a gate or buffer zone to reduce contact. Training should run in parallel so the dog practices calm alternatives instead of scratching.
The fastest path is a two-week plan: protect the door on day one, block access immediately, and reward calm behavior daily. When the door stays untouched, they can scale back barriers while keeping the protection in place.
Related read: How to Stop a Dog Scratching Doors: Step-by-Step Fixes